LM-79 Moving Detector Goniophotometer (Mirror Type C)
LSG-6000

High Precision Rotation Luminaire Goniophotometer
LSG-1890B
High Precision Rotation Luminaire Goniospectroradiometer
LSG-1890BCCD
Goniophotometer for Automotive and Signal Lamps
LSG-1950
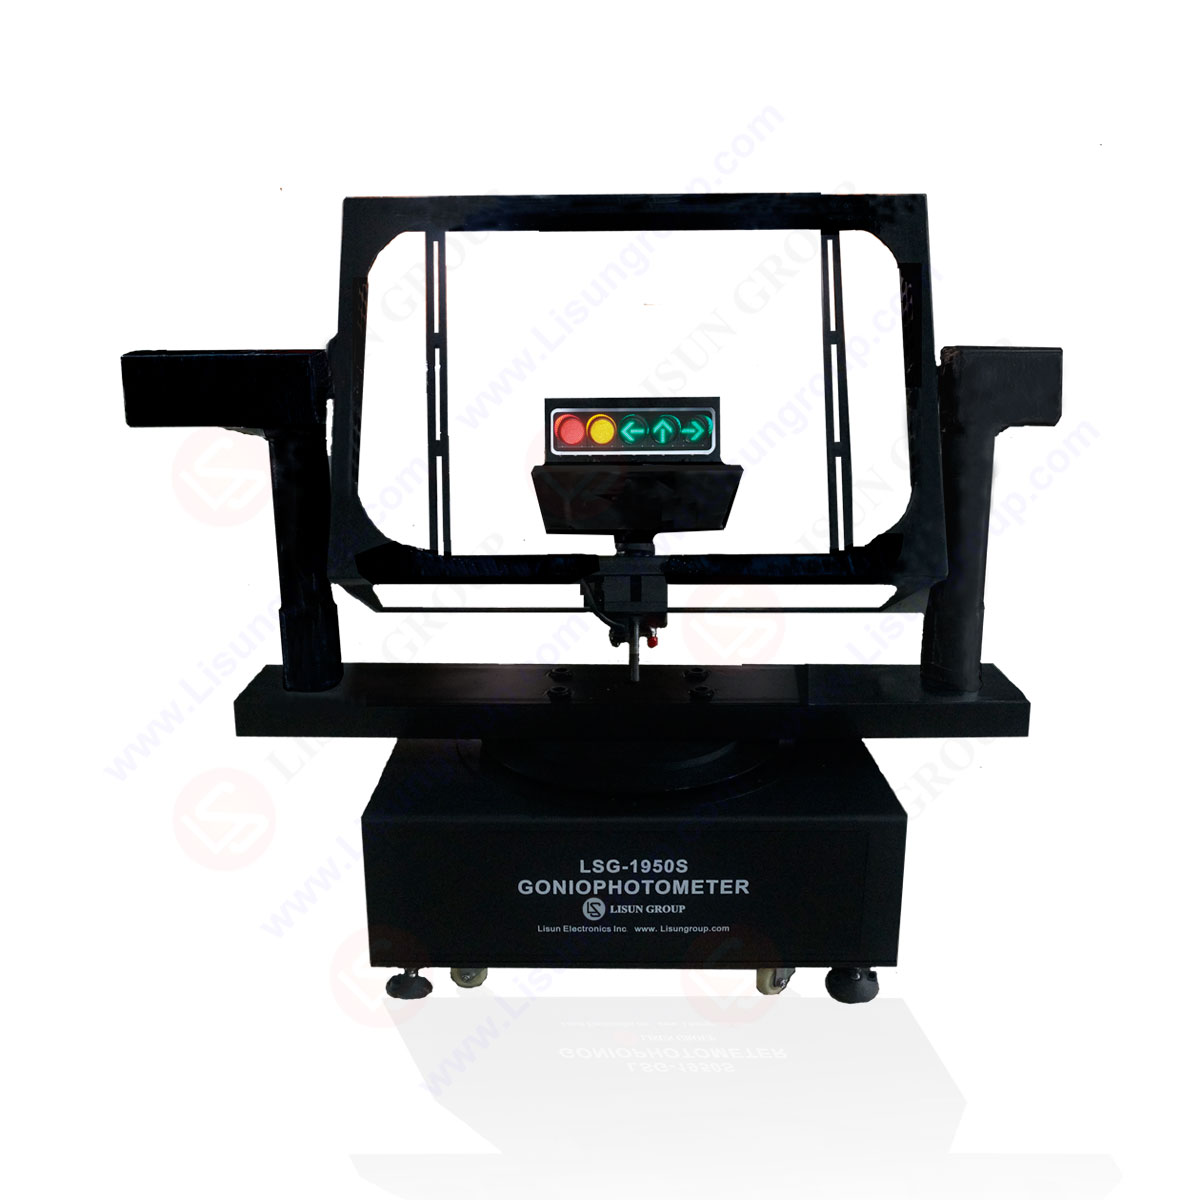
Goniophotometer for Traffic Signal Lamps
LSG-1950S
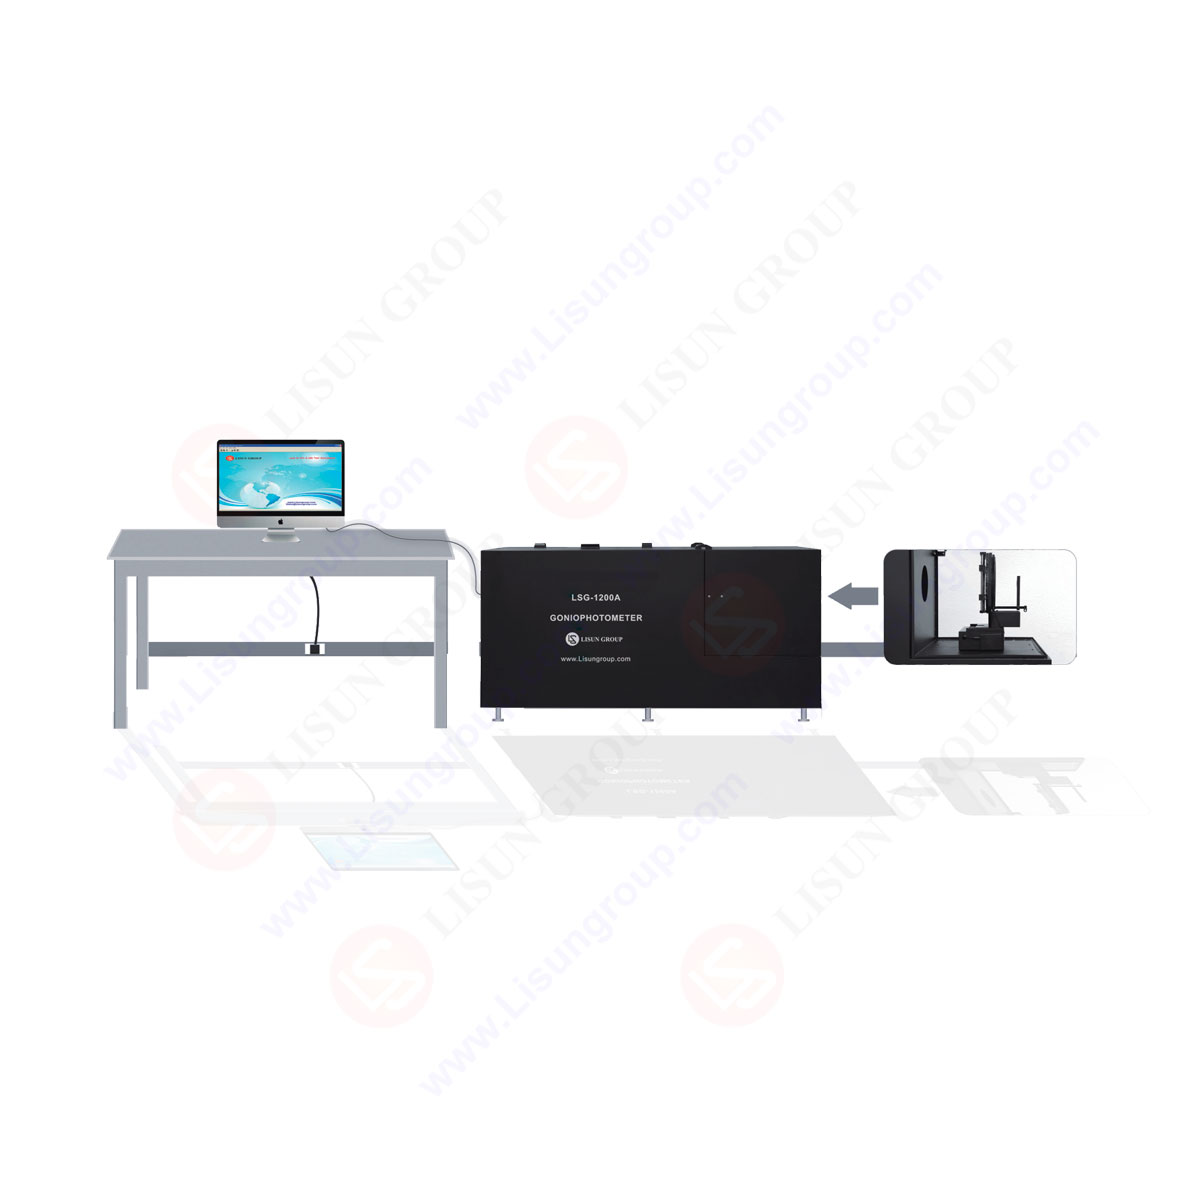
Compact Goniophotometer
LSG-1200A

Near Field Moving Detector Goniophotometer
LSG-1900B
Select an organization
to browse standards
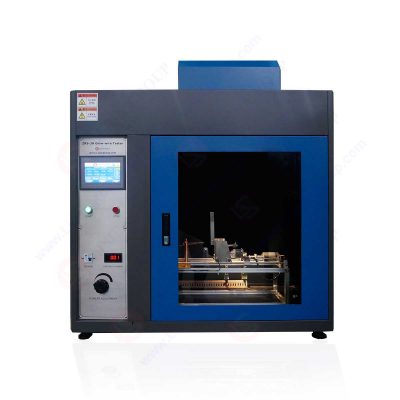
The Glow wire tester ZRS-3H/ZRS-3HS is suitable for providing resistance to abnormal heat and fire tests on the lighting lamps, the electronic products and household appliances.
It uses a high-temperature coating spraying on the steel structure and all the imported instruments display with the easy operation and the stable performance. This equipment is applicable to the flame resistance test.
The Glow wire test chamber includes; a spare fuse, weights, metal mesh, power cord, residue collector, a silk paper, exhaust pipe, gauge, remote control. There is also a plastic bag in the package that contains a CD, calibrate certificates, and guarantee cards. There are user manual, operation video and related standards in the CD.

Glow-wire Test Apparatus
• Open the door of the chamber.
• To avoid damage of equipment in transit, use the cable ties to fix the internal sample car and other ports.
• Remove the cable ties.
• Pass the thin wire of the weights through the notch of the sample car.
• Hang on the two fixed pulleys.
• In case, if you need to test the small sample, fix the metal mesh and fix the sample on the metal mesh.
• The exhaust pipe needs to be installed on the back of the chamber.
• Put the other end of the pipe outside to exhaust the smoke generated during the test.
• Install and fix the sample on the sample car.
• Adjust the screw so that the movable range of the sample car is at least 7mm.
• The limiter for the car sample is provided in the package.
• The limiter can be moved left and right to control the end position of the sample.
• You can also move it to the safe position on the right.
• Connect the power cord to the 220 volts 50 HZ power supply.
• Turn on the switch.
• Press the green button to turn on the device.
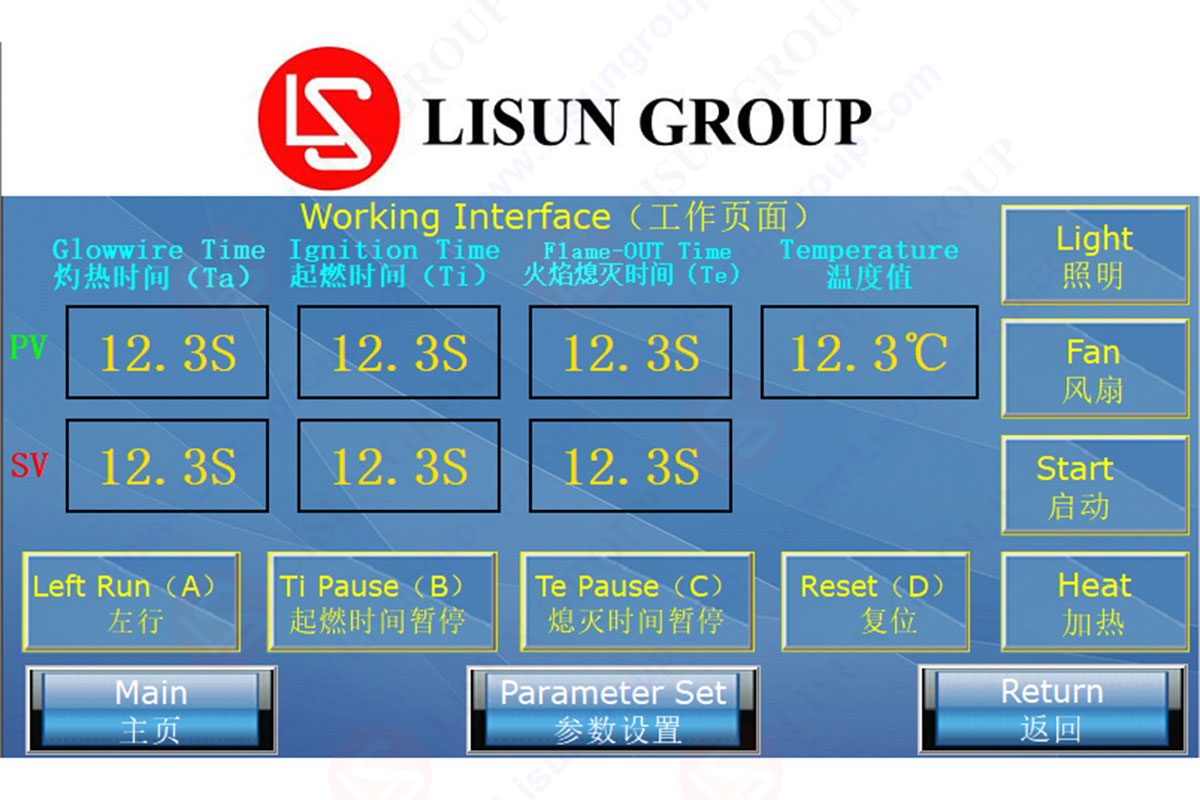
• Click the touch screen to enter ‘’WORKING INTERFACE’’.
• There is also a remote control. The four buttons on the remote control have the same functions. The buttons are named as A,B,C and D.
• This is a lighting switch, click to turn on the light in the chamber.
• The switch for the exhaust fan is also present along with an emergency stop button.
• Click on ‘’LEFT RUN’’.
• The sample car starts to drive to the left to the limiter position. The sample car stops and the limiter indicator light gets on.
• The correct position that the sample car needs to stop should be that the glow wire touches the sample.
• The glow wire pushes the sample car 7mm backward.
• It is necessary to fine tune the position of the limiter to make the sample car stop at the correct position.
• Click on ‘’RESET’’.
• Repeat this operation until the sample car can stop at the correct position.
• Click on ‘’RESET’’ after the adjustment.
• It is important to note here that if you test different samples later, you need to confirm whether the limiter of the sample needs to be readjusted.
• Now, place the silk paper on the residue collector. Place the residue collector under the glow wire. Close the door of the chamber.
• Click to enter the ‘’Parameter set’’ interface.
• Set ‘’Glow wire time’’, ‘’Ignition time’’ and ‘’Flameout time’’ according to the standard. Generally, they are 30 seconds, 30 seconds and 60 seconds.
• After setting, return to the ‘’WORKING INTERFACE’’ and ‘’CLICK’’ on ‘’HEAT’’.
• Turn the current adjustment button clockwise.
• In order to extend the service time of the equipment, you have to adjust the current slowly. However, depending on the different ambient temperature and glow wire status, the required current needs to be fine-tuned.
• The real time temperature of the glow wire can be seen on the screen.
• After the glow wire temperature reaches the standard value, and the temperature is stable.
• Click on ‘’LEFT RUN’’ to start the test. After 30 seconds, the sample car will be evacuated.
• Click on ‘’TE Pause’’ to record the ‘’Flame out time’’, when the flame on the simple goes out.
• If there is no fire, you do not need to click these two buttons. The Ignition time and flame out time will finish automatically.
• The ‘’Heat button’’ will automatically pop up after the glow wire test. The glow wire will stop heating, and the temperature will automatically drop.
• Turn on the fan to exhaust the smoke in the chamber. If you don’t need to do more tests, please turn the current button back to 0. Turn off the equipment.
The glow wire is heated by the high current to gain a high temperature. If the power supply voltage of the equipment is unstable, the heating current will also be unstable. Therefore, it is better to use a regulated power supply to power the equipment.
Set the test time according to the standards. Do not keep the glow wire at a high temperature for a very long time. This will shorten the life of the glow wire and thermocouple. It needs to be cleaned if there is attachment on the glow wire after the test.
• Heating temperature: adjustable continuously within the range of ≤500-1000°C, the accuracy of temperature is 1°C, the resolution of temperature is ±3°C
• Glowing time: 0.1-999.9s,±0.1S(time range is adjustable)
• Burning time: 0.1-999.9s, auto record, manual pause
• Flame chilling time: 0.1-999.9s (auto record and manual pause)
• Glow wire pressure on test specimen: 1±0.2N. Limiting pressure depth is 7mm
• Glow wire: φ4 nickel (80%) and chromium (20%) Made in specific dimensions.
• Thermoelectric couple: φ0.5 armored nickel & chromium/nickel-chromium wire, K degree.
• Auto break away: While reaching specified glowing time, test specimens will break away from glow wire automatically.

Glow wire test apparatus
The glow wire tester uses the simulation technology for evaluation of the fire hazard caused due to the thermal stress caused by heat sources such as hot components or the overload resistors in a short period of time. It is considered as one of the series of electrical and electronic components fire hazard test instruments.
The glow wire ignition temperature is the temperature that is 25 °C higher (30°C higher if between 900°C and 960°C) than the highest temperature measured at the end of the glow wire. Glow Wire test is used to determine the flammability of end products.

Lisun Instruments Limited was found by LISUN GROUP in 2003. LISUN quality system has been strictly certified by ISO9001:2015. As a CIE Membership, LISUN products are designed based on CIE, IEC and other international or national standards. All products passed CE certificate and authenticated by the third party lab.
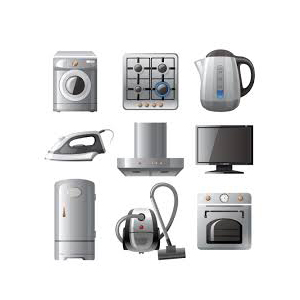
Our main products are Goniophotometer, Integrating Sphere, Spectroradiometer, Surge Generator, ESD Simulator Guns, EMI Receiver, EMC Test Equipment, Electrical Safety Tester, Environmental Chamber, Temperature Chamber, Climate Chamber, Thermal Chamber, Salt Spray Test, Dust Test Chamber, Waterproof Test, RoHS Test (EDXRF), Glow Wire Test and Needle Flame Test.
Please feel free to contact us if you need any support.
Tech Dep: [email protected], Cell/WhatsApp:+8615317907381
Sales Dep: [email protected], Cell/WhatsApp:+8618117273997
There are some standards focus on specifying technical requirements and test methods for different categories of lampholders in the lighting field, ensuring their safety, compatibility, and...

LISUN’s Motor-Operated Tool | Power Tool Testing solutions strictly comply with a range of core international standards, providing full support for safety and electromagnetic compatibility (EMC)...

LISUN’s electric toy testing solutions cover IEC 62115, EN 71-1, ASTM F963 standards. Including electrical, mechanical, flammability tests to ensure toy safety compliance globally.
LISUN’s transformer test solutions meet IEC 61558-1, IEC 60076-1, IEC 62041 standards. Covering safety, performance, EMC tests, ensuring transformers comply with global requirements.

LISUN’s energy meter testing solutions align with IEC 62052-11, IEC 62053 series standards. Covering safety, electrical, environmental, and EMC tests, we help manufacturers meet global compliance...

LISUN’s audio-video communication testing solutions meet CISPR 13, IEC 60065, FCC Part 15 & EN 55032. Cover EMC, safety & performance tests for reliable AV equipment...
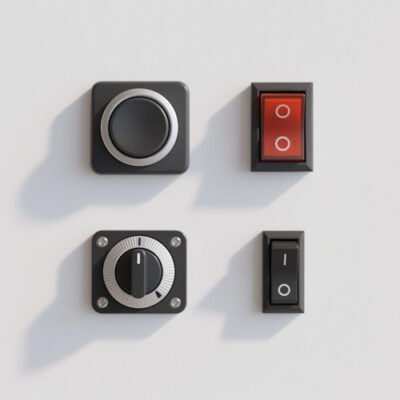
LISUN’s household and appliance switch testing solutions meet IEC 60669, IEC 61058, IEC 62271 standards. Covering electrical, mechanical & EMC tests for global compliance.
LISUN has all equipment according to the IEC60669 measurement, including environmental chamber, IP code waterproof dustproof test, switch lift test, etc.
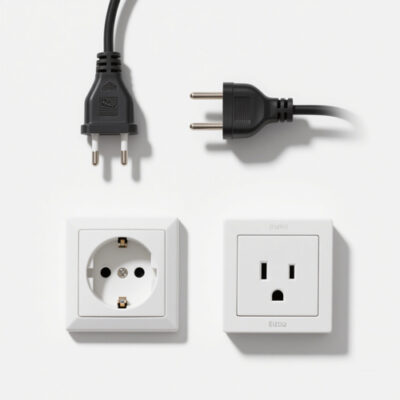
LISUN’s plugs and sockets test solutions meet IEC 60884-1, IEC 60670-1, IEC 62613-1 standards, covering electrical, mechanical and safety tests for global compliance.

LISUN provide full test solutions for HID lamp, including integrating sphere system, goniophotometer system, EMI EMC chamber, HID ballast tester, electrical safety test, etc.

Lisun can supply full test solutions for fluorescent lamp, including integrating sphere system, goniophotometer system, EMI EMC test, electronic ballast tester, electrical safety test, etc.

For the CFL design and manufactory, LISUN can supply a full quality control test solution, including photometric, colorimetric, electricity, flicker, IES candela distribution, surge test, electrical...
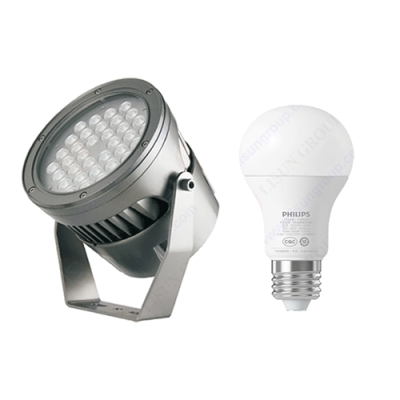
LISUN’s indoor and outdoor LED test solutions meet IEC 60598-1, IEC 62722-2-1, CIE 121 standards, covering safety, photometry, and environmental tests for global compliance.

 中文简体
中文简体