LM-79 Moving Detector Goniophotometer (Mirror Type C)
LSG-6000

High Precision Rotation Luminaire Goniophotometer
LSG-1890B
High Precision Rotation Luminaire Goniospectroradiometer
LSG-1890BCCD
Goniophotometer for Automotive and Signal Lamps
LSG-1950
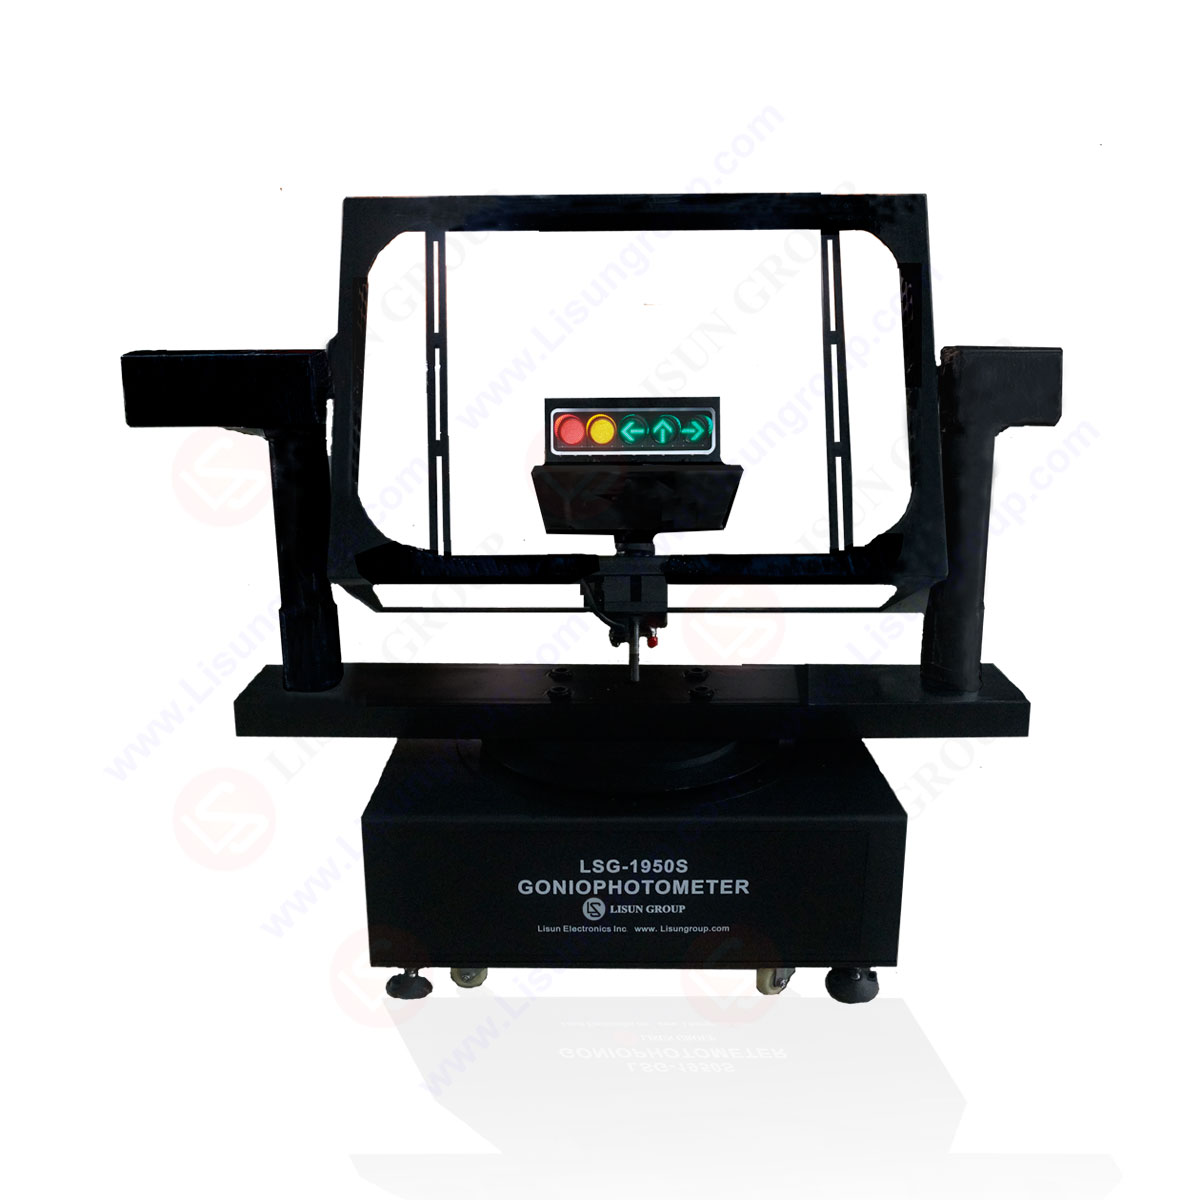
Goniophotometer for Traffic Signal Lamps
LSG-1950S
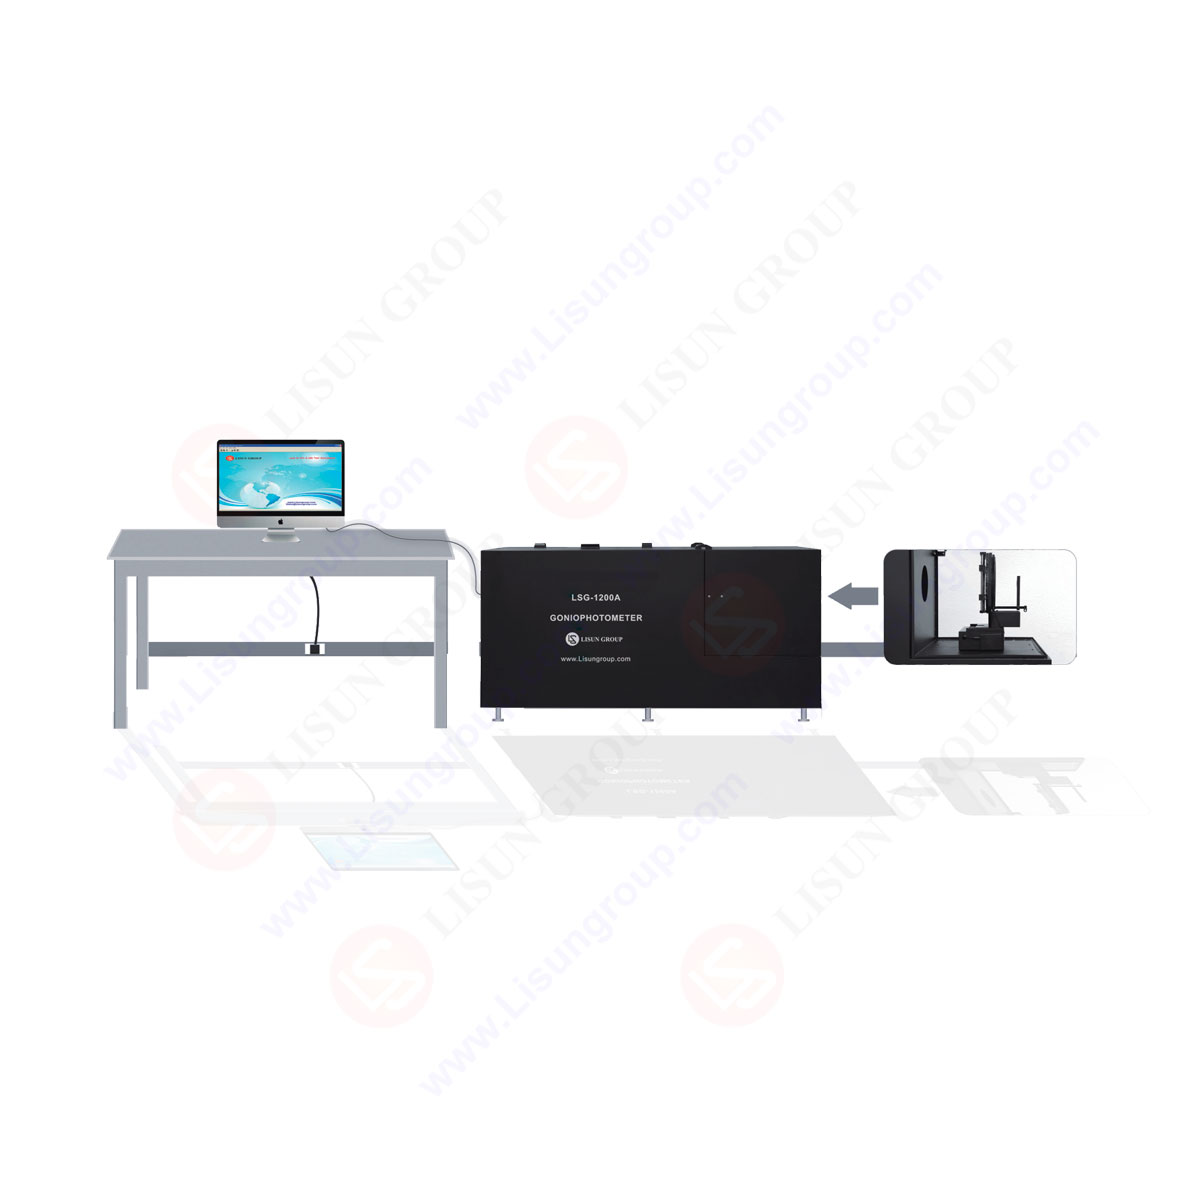
Compact Goniophotometer
LSG-1200A

Near Field Moving Detector Goniophotometer
LSG-1900B
Select an organization
to browse standards
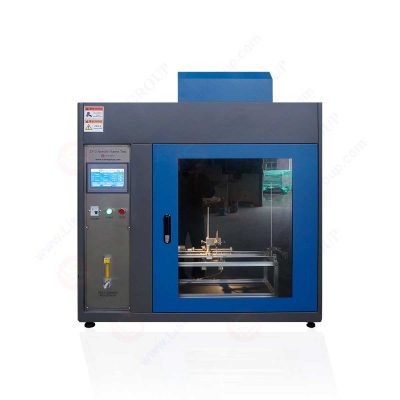
The needle flame test is used to evaluate the fire danger produced by tiny flames, which may arise from the ignition of a malfunctioning component of electrical equipment. This kind of ignition may occur because of the needle-flame test. A needle flame tester is used for this purpose.
The needle flame test uses simulation technologies to determine how likely a fault situation inside the apparatus may result in the ignition of a tiny flame. It is the flame created by the burner, and it is the one that is utilized to imitate the ignition of a little flame.
Description
For the needle flame test, butane is heated in a needle-shaped tube until a flame 12 mm 1 mm in height is produced within the time limit set by the chosen standard (e.g., 60 seconds, 30 seconds, or 10 seconds). The distance from the needle’s tip to its side surface is 5 mm, or the distance between the bottom surface and the needle is 8 mm, depending on how long and how strongly the sample is subjected to the needle’s application.
The base is the same as in the glow wire test. The drop must not ignite the underlayer for the needle flame test to be successful, and the sample must not develop a flame within 30 seconds after the application’s conclusion.
Needles in a flame test apparatus mimic flames caused by fault situations such as fault current flowing via a leakage channel, overheating components or parts, faulty contact, etc., which might spread to surrounding parts. This test aims to employ fire simulation technology to mimic a tiny flame formed within the product under fault circumstances to evaluate the potential for a fire.
A needle flame test may be referenced when other flammability testing methods, such as the glow wire test or the horizontal and vertical flammability test, are unsuitable for a certain part or component’s size.
For samples that catch fire during the glow wire test, a needle flame test is necessary to determine the extent of the flame danger. The wiring board, centrifugal switch, and rice cooker socket are all examples of electronic and electrical items and components that may be used in the home.

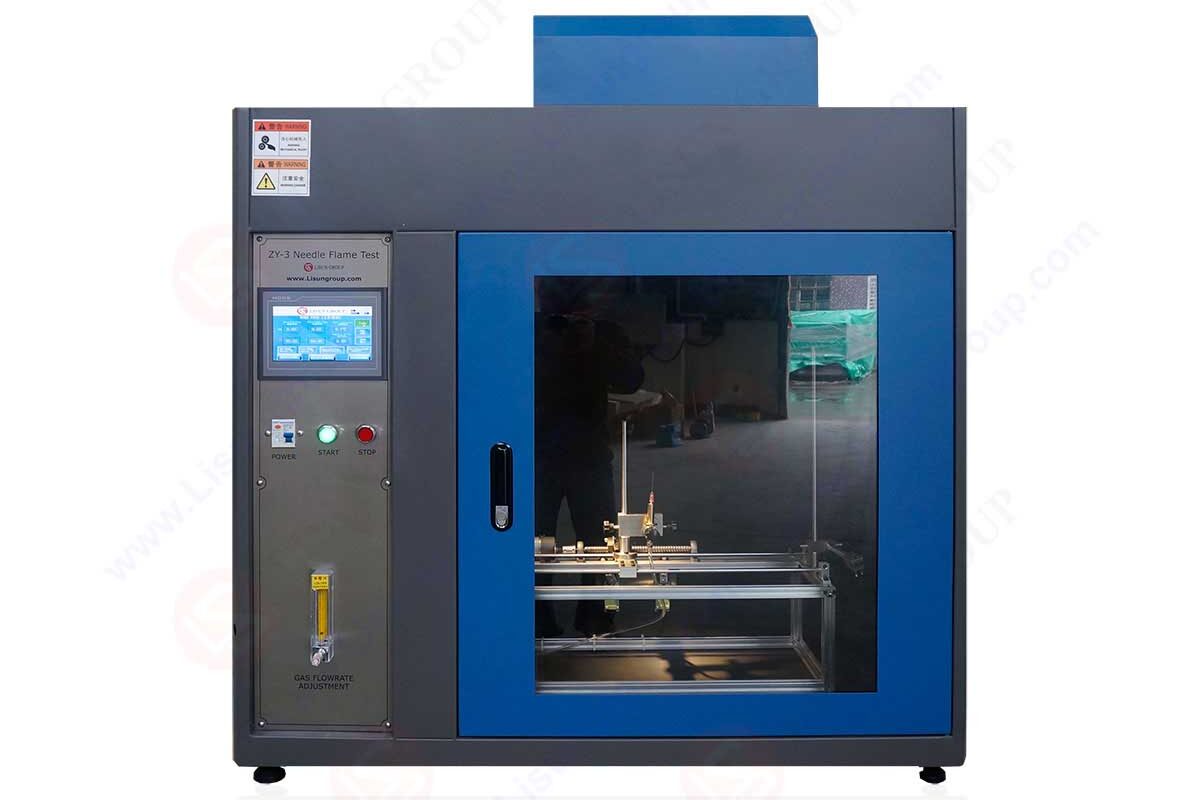
Needle flame tester
Equipment definition
1. The needle flame tester manufacturer must have at least 0.5m3 of space in the fume hood or testing area.
2. The aperture of the test, the needle flame tester, or burner, must be at least 0.5 mm, and the burner itself must be at least 35 mm in length. All pipes with an external diameter of 0.9mm or less must be made of 0.1mm.
3. The ideal tilt angle for a burner is between 0 and 45 degrees. The dimensions of the flame ruler are 12mm 1mm.
4. Tolerance of the timing for the Needle Tester should not exceed 0.5 seconds.
A needle flame tester is a burner with a needle of a certain diameter and gas. A 45-degree burn test at predetermined intervals in both directions. When assessing the performance of the needle flame tester, we will look at how well the test product and the ignition bedding layer ignite, as well as how long the flame is sustained.
There is a possibility of minor fires breaking out within the building due to defective circumstances.
By simulating the small flame produced by the products under the failure conditions and feeding into the products or materials, the needle flame tester can perform fire hazard and combustion performance tests by the requirements of various international and national standards, such as IEC 60695-11-5:2004, GB4706.1-2005, IEC60335-1, and GB5169.5-2008. The IEC 60695 needle flame tester has to be calibrated before use.
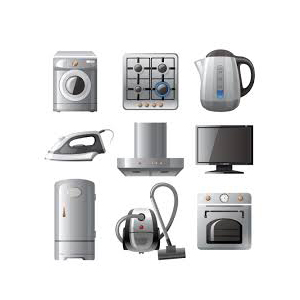
Lighting, low-voltage electrical appliances, household appliances, machine tools, electrical tools, electronic instruments, electrical instruments, information technology equipment, electrical affairs equipment, electrical connectors, auxiliary parts, and other electrical and electronic equipment and its components are all good candidates for the use of a needle flame tester.
Calibration Condition and Calibration Method
The parts of a needle flame tester include a needle flame burner, a workspace, and a thermometer. Needlestick fire testing equipment certified to UL 94 standards is built to simulate the requirements of IEC 60695-2-2:1991 (second edition) and IEC60695-2-2 amendment no. 1(1994-03).
Environmental conditions
1. Climate conditions: between 10 and 35 degrees Celsius, and relative humidity of no more than 85%
2. Calibration without a load is known as the “load condition.”
3. Needle flame testing should be done in an area free of discernible vibration and corrosive gas, and there should be no other cold or heat sources present that might alter the calibration findings.
Calibrate tool and other equipment
1. The steel tape is used to measure the capacity of the test chamber, a needle gauge is used to measure the burner’s aperture, a vernier caliper is used to measure the other dimensions of the burner and the flame ruler, and an angle ruler is used to measure the burner’s tilt angle.
2. Calibrated with an electronic stopwatch
3. An industry-standard platinum resistance thermometer and a versatile temperature calibration furnace are used to fine-tune the accuracy of the temperature gauge.
Calibration Method for Calibration Items
Dimensions of the flame tester needle, degree of burner tilt, running time, flame, and temperature readouts. It is possible to choose calibration components in response to specific needs and circumstances.
Appearance Inspection: Appearance visually examines the look and the components to ensure they are undamaged and clean so that the equipment can function correctly. Test standards must conform to IEC 60695-11-5:2004, GB4706.1-2005, IEC60335-1, and GB5169.5-2008, amongst others.
Basic Dimensions: A steel tape measure is used to determine the volume of the testing chamber, and then that volume is computed. The needle gauge and the vernier caliper are used to measure the measurements of the flame burner and the flame height ruler, respectively. Adjustable to any angle between 0 and 45 degrees, the tilt angle of the burner should be measured using an angle ruler.
Timer Calibration: Using an electronic stopwatch, calibrate the flame firing time at 10 seconds, 20 seconds, 30 seconds, 60 seconds, and 120 seconds, and the flame holding duration at 30 seconds. The timer has been set to 23.5 seconds by the technician.
Calibration apparatus: To calibrate the apparatus, insert the copper block and the standard platinum resistor into the hole in the multi-function temperature calibration furnace. Ensure that the resistor is linked to the thermocouple in the temperature system. Make an effort to position them such that they are at the bottom of the hole.
Adjust the needle flame tester to reach temperatures of 100 and 700 degrees Celsius. After reading the temperature display value of the temperature system three times, use the average of these readings to get the real temperature display value of the system.
Importance
The needle flame test equipment tests fixed electrical insulation material’s surface spark discharge capability. At the same time, it is wet and assesses the material’s relative leakage tracking index (CTI) and leakage tracking index (PTI).
Insulation materials, motors, electrical appliances, and domestic equipment utilized in humid environments are appropriate for needle flame tester use. Determine the level of resistance that it must trace to the insulating structure.
Electric creepage is a phenomenon that describes the production of a carbonized conductive channel in the portion of an insulating material that has a potential difference. This causes the material to lose its function as an insulator.
To ensure compliance with safety regulations, needle flame test equipment is an essential piece of instrumentation. Currently, many needles for flame testing available on the market are made by outdated safety regulations.
Due to the variable quality of the needle tester and the possibility that its primary components do not satisfy the specifications outlined in the standards, it is necessary to calibrate the instrument’s primary components to guarantee the precision of the measurement data obtained from the needle flame testing equipment.
Needle Flame Tester Operating Steps
Adjusting the Angle of the Flame
The procedure for adjusting the angle of the flame is as follows: Turn the knurled bolt in front of the combustion seat counterclockwise to loosen it. Handle the bolt by turning it to the desired angle while holding it in your hand, and then secure the bolt when it has been rotated.
The needle flame tester relates to a set of flame strength test equipment. The technique employed is as follows: initially, the thermocouple wire strung with a temperature-measuring copper block is put exactly above the needle.
Press the button labeled “gas on,” then press and hold the button labeled “ignition” to light the flame (Adjust the meter to about 0.03 scale, it is easier to catch fire). Put the device through its “temperature test” by pressing the appropriate button and keep an eye on the timer and the thermometer simultaneously.
When the temperature reaches 100 degrees Celsius, an alarm will sound, and the timer will begin to count down. When the thermometer reaches 700 degrees Celsius, an automatic shutoff of the timer is triggered. Check that the time shown on the timer is 23.5 seconds, give or take 1.0 seconds.
Flame Operation
Press the “reset” button to reset the counter, and then press the “start” button. Press the button labeled “gas on,” then press and hold the button labeled “ignition,” and lastly, press the “start” button. Needle flame lighted. Finally, use the “right” button to automatically begin timing when you reach the flame point while jogging.
After the flame firing time has been adjusted, the flame will immediately extinguish, and the combustion seat will automatically retreat after the adjustment is complete. The “holding time” begins timing the event at the same moment.
The operator promptly pressed the ” pause ” button after extinguishing the sample flame. At this point, the display time is the after-flame time and halfway has to come to a halt. It should press a “stop” button.
Adjust the flame by positioning the cylinder key in the “set” position, turning the black ignition switch to the “ON” position, and then placing the cylinder key in the “set” position again. Turning on the air supply requires you to open the valve on the flowmeter first, followed by pressing the button labeled “gas on.”
Light the flame with a lighter, then set the flame height indicator on fire. Even though it was burning at the very top of the tower, Make the necessary adjustments to the flow meter valve to achieve the standard flame height of 12 mm-1.
Mounting the sample
Mounting the sample for the test, you will need to adjust the height of the sample after it has been put on the fixture so that it complies with the criteria of the standard. Please check the page linked to this topic if you are seeking the equipment used for testing glow wires to conduct glow wire tests.
After the test
After the test is complete, make sure the exhaust fan is on so it may release exhaust gas and smoke outside. First, turn OFF the flow meter. Then, flip the black ignition switch to the “OFF” position. Next, press the cylinder button to the “off” position, and clean the combustion chamber.
A needle flame tester is an instrument that it may use for evaluating the flame-retardant function of many types of electrical items, including but not limited to electronic equipment, electrical equipment, mechanical components, and injection molding parts.
The IEC 60959-11-5 needle flame test apparatus is intended to imitate the circumstances under which a tiny flame might be formed within the product in the event of a malfunction and to determine whether or not there is a potential for a fire using simulation technology.
Attention notification
1. it may turn on and the fan and lights off independently. It’s Important to Focus on Needle Flame Test Equipment Issues
2. Please be cautious while using the warm thermocouple since it is a delicate component not covered by the product guarantee.
3. To avoid an error during the flame test, please ensure that the “temperature measurement” button is up.
4. Be mindful of the needle site and clean the combustion chamber to prevent clogging; clean the chamber after each test in the power failure condition.
Lisun Instruments Limited was found by LISUN GROUP in 2003. LISUN quality system has been strictly certified by ISO9001:2015. As a CIE Membership, LISUN products are designed based on CIE, IEC and other international or national standards. All products passed CE certificate and authenticated by the third party lab.
Our main products are Goniophotometer, Integrating Sphere, Spectroradiometer, Surge Generator, ESD Simulator Guns, EMI Receiver, EMC Test Equipment, Electrical Safety Tester, Environmental Chamber, Temperature Chamber, Climate Chamber, Thermal Chamber, Salt Spray Test, Dust Test Chamber, Waterproof Test, RoHS Test (EDXRF), Glow Wire Test and Needle Flame Test.
Please feel free to contact us if you need any support.
Tech Dep: Service@Lisungroup.com, Cell/WhatsApp:+8615317907381
Sales Dep: Sales@Lisungroup.com, Cell/WhatsApp:+8618117273997
There are some standards focus on specifying technical requirements and test methods for different categories of lampholders in the lighting field, ensuring their safety, compatibility, and...

LISUN’s Motor-Operated Tool | Power Tool Testing solutions strictly comply with a range of core international standards, providing full support for safety and electromagnetic compatibility (EMC)...

LISUN’s electric toy testing solutions cover IEC 62115, EN 71-1, ASTM F963 standards. Including electrical, mechanical, flammability tests to ensure toy safety compliance globally.

LISUN’s audio-video communication testing solutions meet CISPR 13, IEC 60065, FCC Part 15 & EN 55032. Cover EMC, safety & performance tests for reliable AV equipment...
LISUN has all equipment according to the IEC60669 measurement, including environmental chamber, IP code waterproof dustproof test, switch lift test, etc.

LISUN provide full test solutions for HID lamp, including integrating sphere system, goniophotometer system, EMI EMC chamber, HID ballast tester, electrical safety test, etc.

Lisun can supply full test solutions for fluorescent lamp, including integrating sphere system, goniophotometer system, EMI EMC test, electronic ballast tester, electrical safety test, etc.

For the CFL design and manufactory, LISUN can supply a full quality control test solution, including photometric, colorimetric, electricity, flicker, IES candela distribution, surge test, electrical...
LISUN’s indoor and outdoor LED test solutions meet IEC 60598-1, IEC 62722-2-1, CIE 121 standards, covering safety, photometry, and environmental tests for global compliance.

 中文简体
中文简体